Managing groups
Globus groups, like Globus accounts, are consistent across all systems connected to Globus. Globus supports subgroup hierarchies, group and member visibility policies, and custom group admission and member verification workflows.
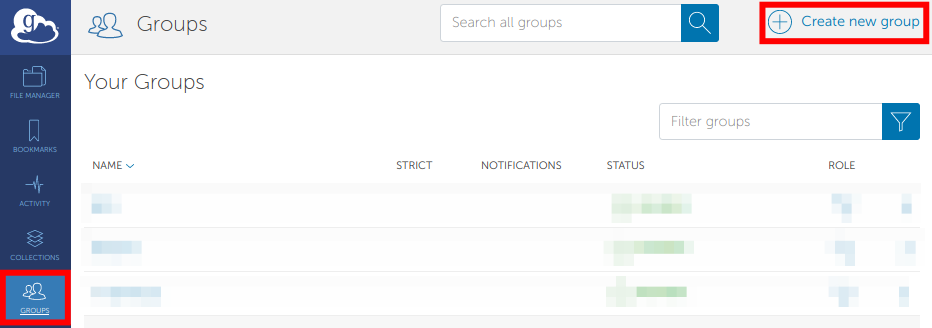
Click Groups in the left-side command pane to open the "Your Groups" page. You will see a list of all the groups you are a member of, including those you administer or manage. To search for a group you belong to, type part of its name in the Filter groups field above the list.
Click Create new group to create a group.
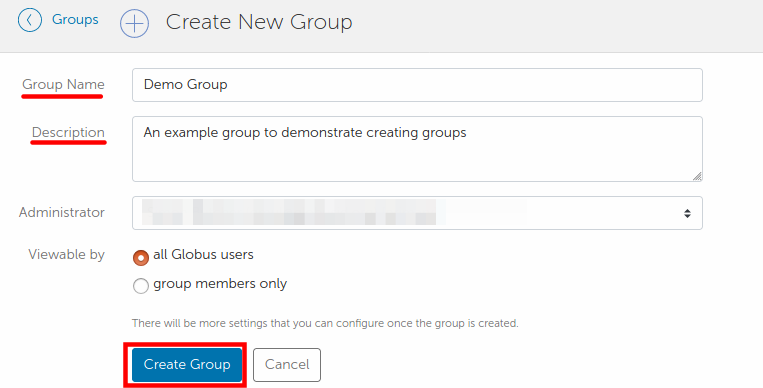
Enter a name for the group and then click the Create Group button. You can also enter a description that tells prospective members about the group but we recommend leaving the "Administrator" option the default. In this example we are going to create the group Demo Group.
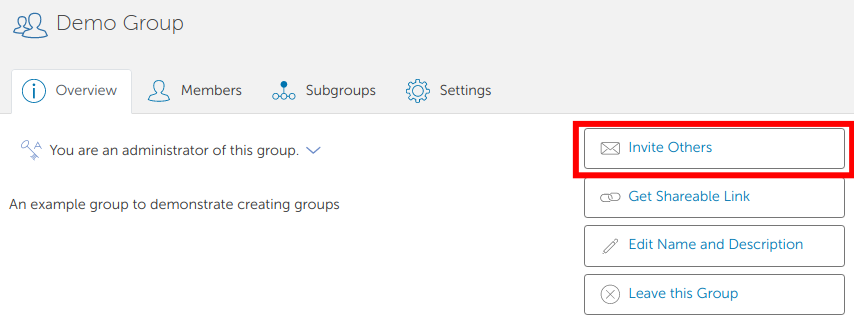
After creating a group, Globus will automatically display the group page. To navigate back to group page at a later stage, click Groups and select the relevant group from the "Your Groups" page. You may optionally type the name (or part of the name) of the group in the "Filter groups" field.

Click the Invite Others button to invite other users to the group.
You can invite others to the group by entering their username or Globus identity. Please note that the user being invited must already have a Globus account before they can be invited to a group.
Here we are inviting the Test Test username, which is an example username provided by Globus:
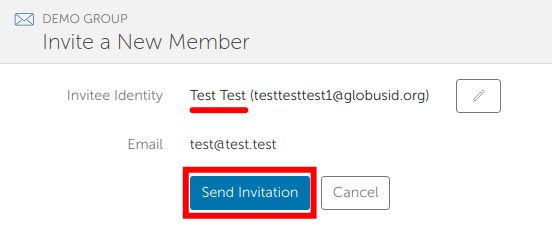
Click the Send Invitation button to email out an invitation to the Globus group. Each member must accept this invitation to become group members.
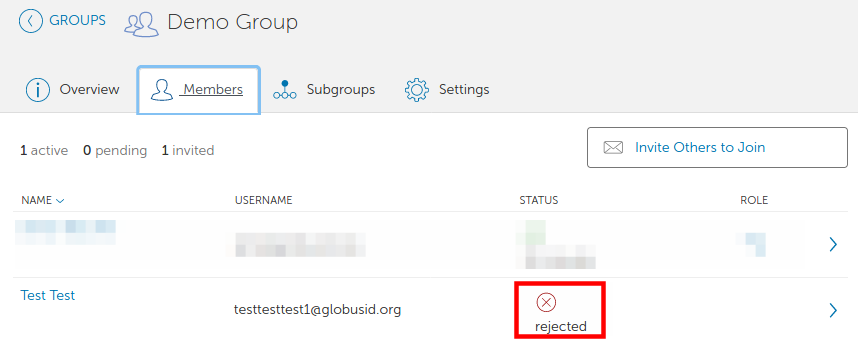
To view a list of users who have been invited or who are already members of the group, click on the Members tab:
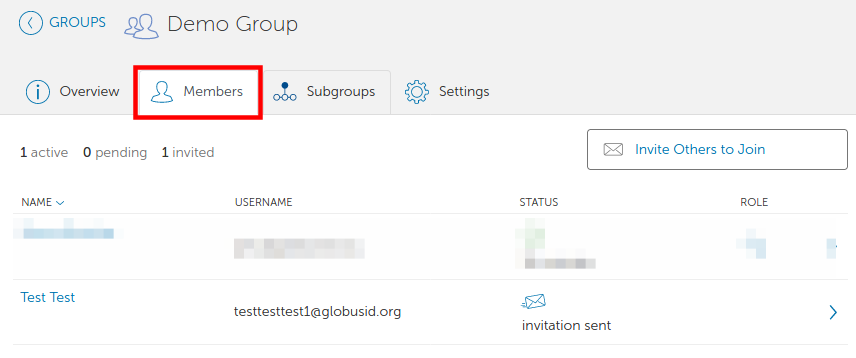
The "Status" field shows the membership status of each user, and the "Role" field shows each user's role in the group. To view or change a user's role within the group or remove them from the group, click on their name in the Members tab.
Here we are going to remove the Test Test username from the group Demo Group. The user must have first accepted the group invitation to see the below status options.
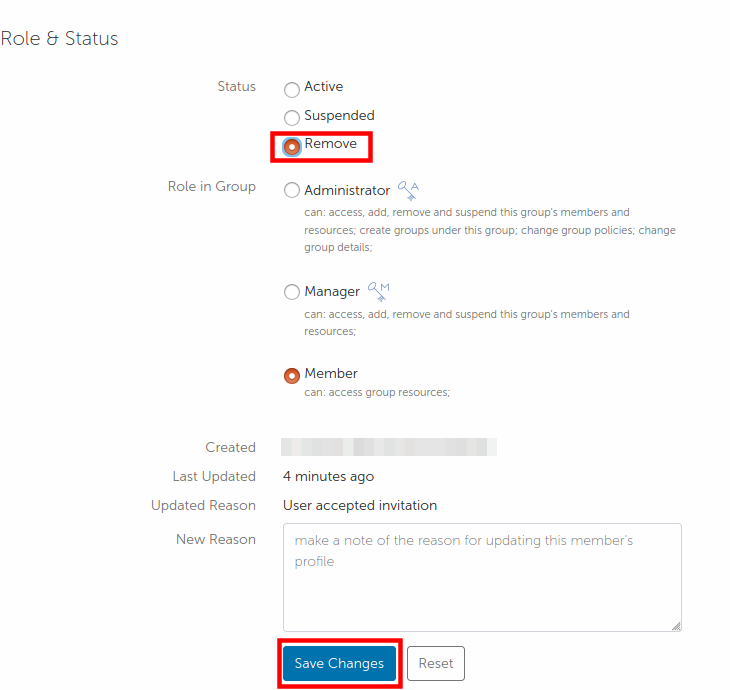
Select the "Remove" option and click Save Changes to remove the user. The "Status" field for removed users will display "rejected", as shown below: