Transferring files
To transfer files from one collection to another, firstly open the source collection in the File Manager. In this example, we are using the Globus Tutorial Endpoint 1 collection.
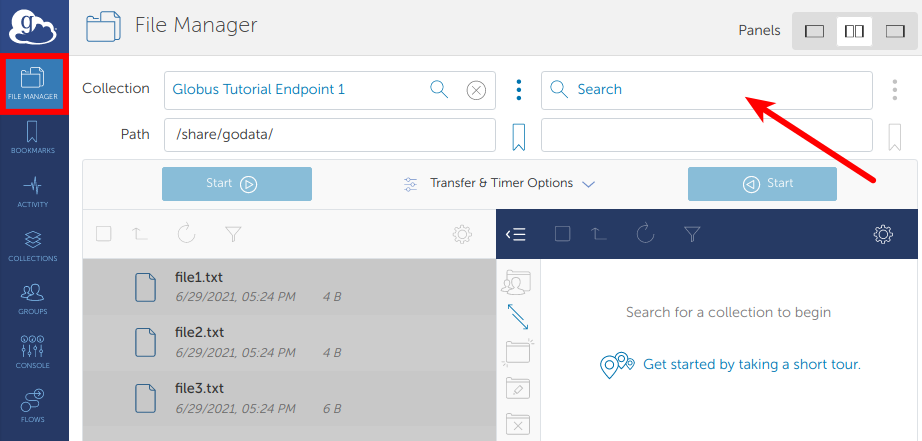
Search for the destination collection in the right hand panel. We're going to use the Globus Tutorial Endpoint 2 collection as an example destination.
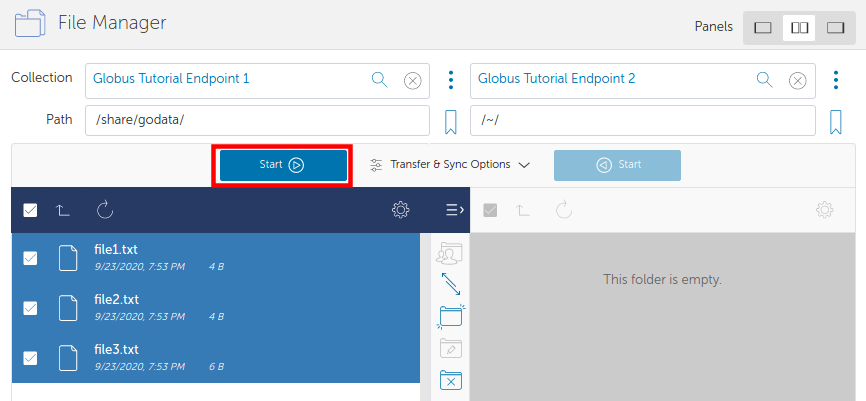
Click on the left (source) collection, and select the files to transfer.
Between the two Start buttons above the file browser, the "Transfer & Sync Options" drop down provides access to several options. By default, Globus verifies file integrity after transfer using checksums. The other options are not enabled by default but you may enable them if required. Click the information icons for explanations of the other transfer settings. You may also enter a label for the transfer, but this is not required.
Click the Start > button above the files to initiate the data transfer.
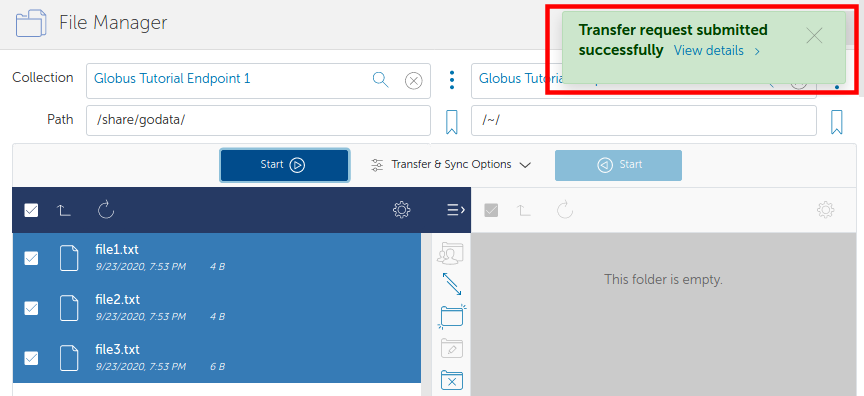
Globus will display a green notification that the transfer request was submitted.
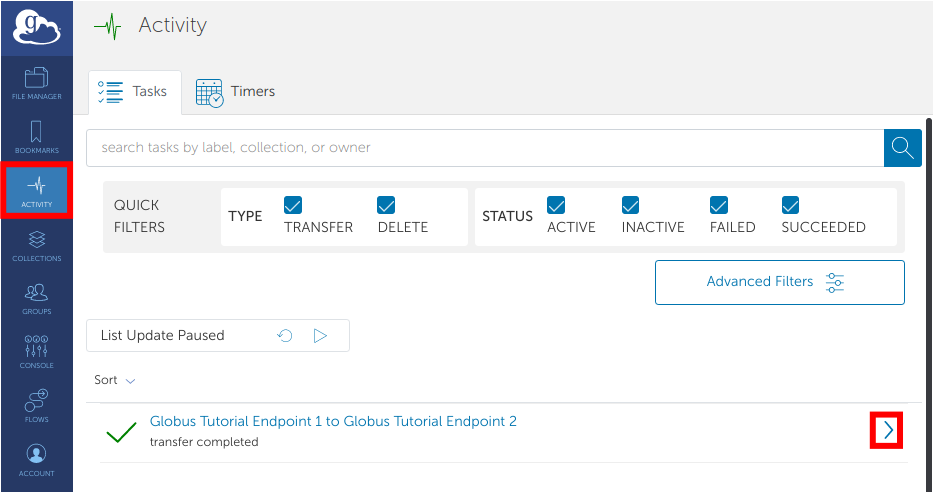
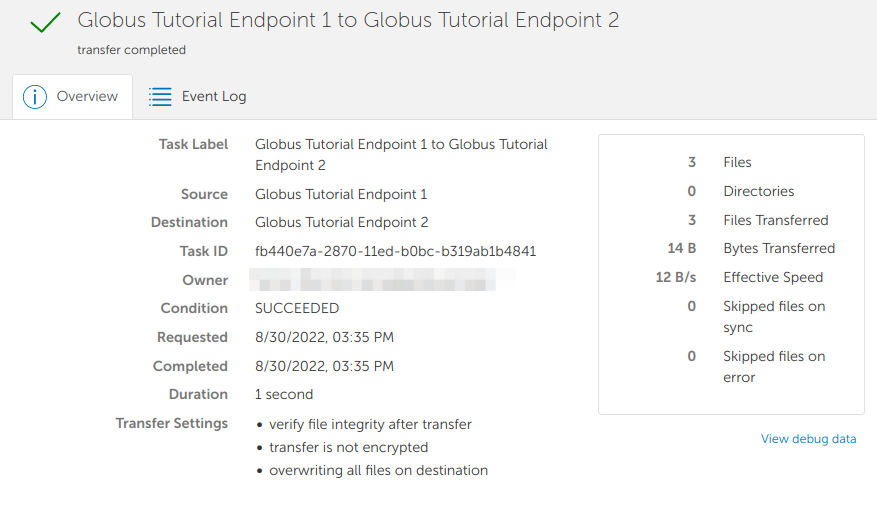
Only three small files were transferred in our simple example, so the transfer will complete quickly. Click Activity in the command menu on the left of the page to go to the Activity page. On the Activity page, click the arrow icon on the right to view details about the transfer. You will also receive an email with the transfer details.
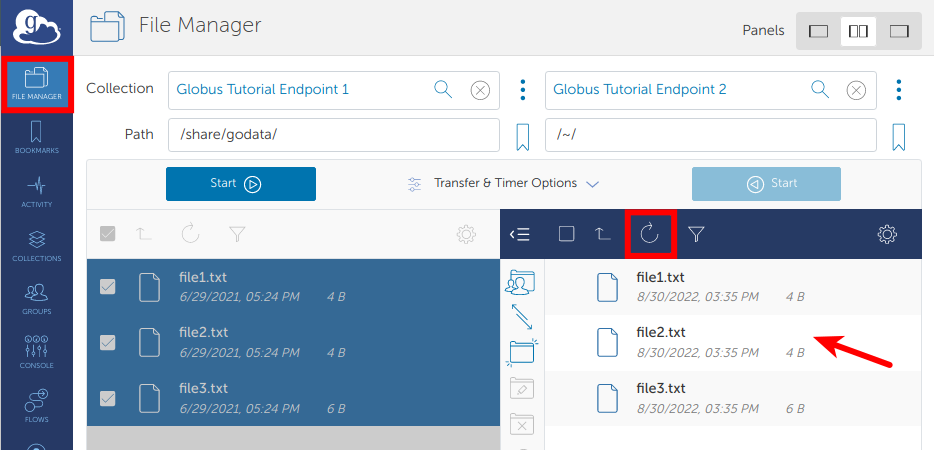
Click File Manager in the command menu on the left of the Activity page to
return to the File Manager. The collections you were viewing before will
reappear. You may notice that the transferred files are not listed in the right
panel with the Globus Tutorial Endpoint 2 collection and the /~/ path,
even though the transfer has completed. Click the refresh icon (circular
arrows) at the top of the collection panel to see the updated contents.